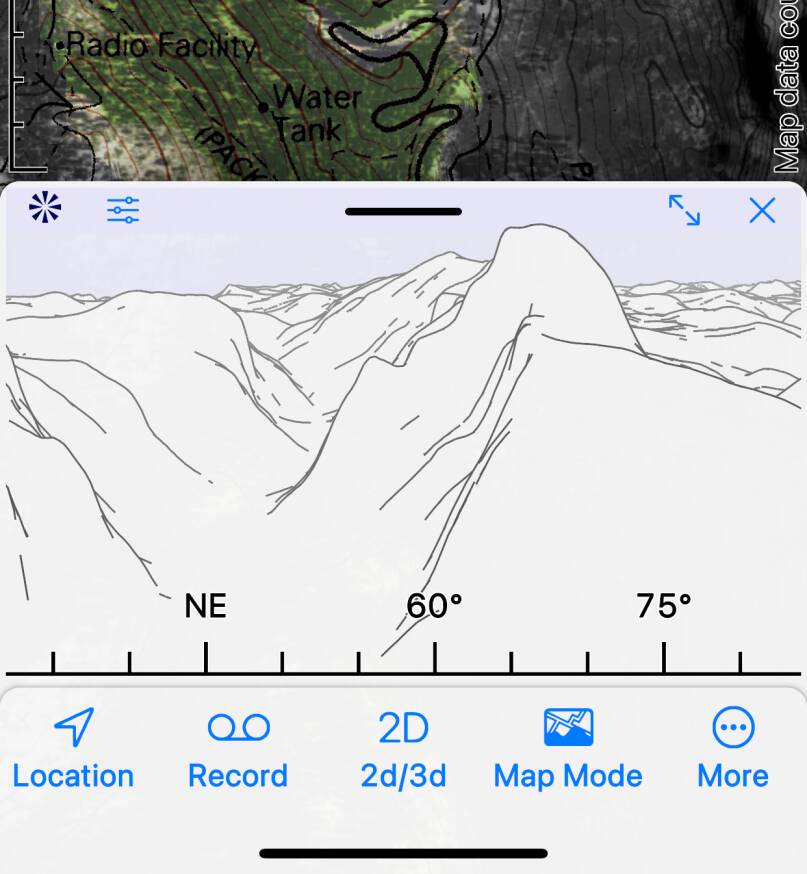
Click on a button for more information.
Toggle between 2D and 3D modes.
Search for places on the map.
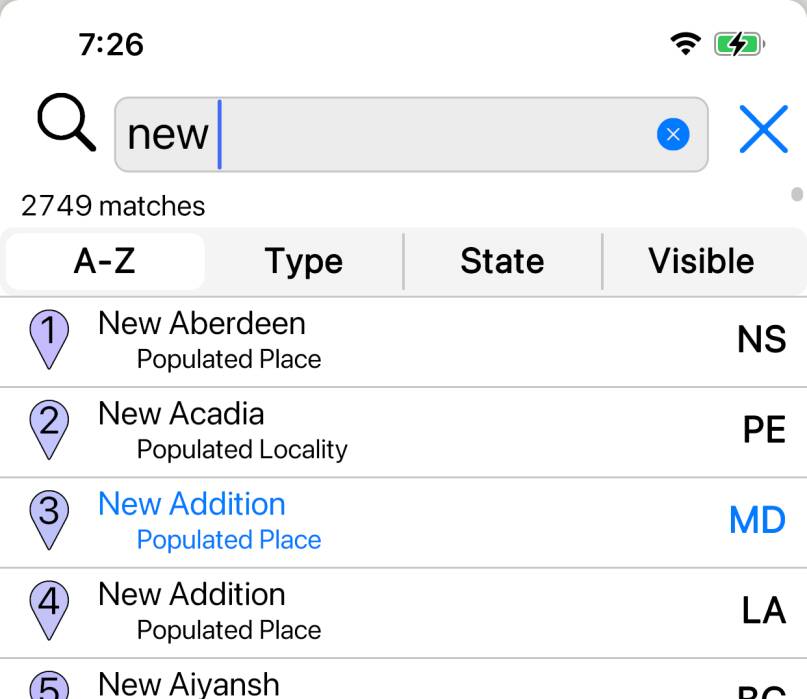
The search data includes natural and man-made features such as mountains, rivers,
towns and national parks - but it doesn’t include things like street names or
businesses.
You can order the search results alphabetically, group them by type, or
group them by state / province. The “Visible” setting limits the results to
those on the currently visible area of the map.
A list of your recent searches matching the current search pattern, if any,
is shown above the results.
Search results at locations for which you have downloaded detailed maps are
shown in blue.
On the map, search results are shown by ![]() markers;
the numbers and colors match the search results list.
markers;
the numbers and colors match the search results list.
 markers;
the numbers and colors match the search results list.
markers;
the numbers and colors match the search results list.To remove the search result markers, tap the ![]() button to clear the search box.
button to clear the search box.
 button to clear the search box.
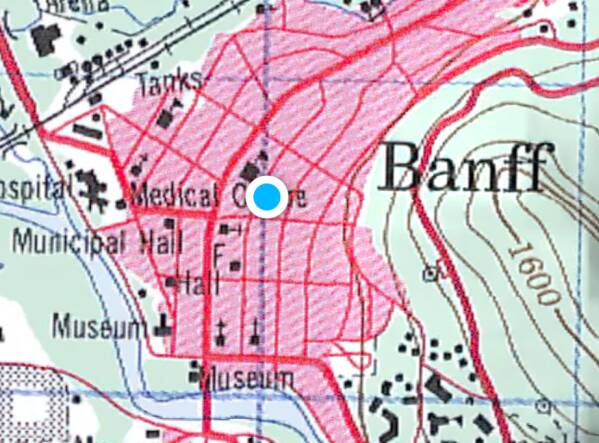
Turn on the GPS and show your location on the map.
Your location is shown by a blue spot (or arrow) which flashes when it updates.
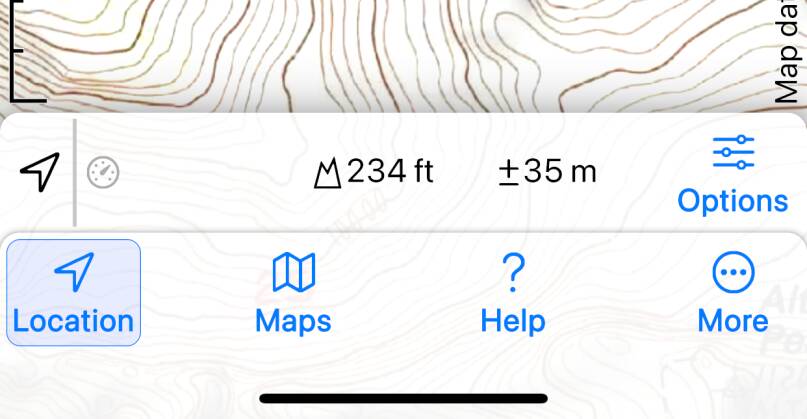
The location bar is shown at the bottom of the screen. This shows:
- Your current speed as reported by the hardware, if any.
- Your current elevation as reported by the hardware, if any.
- The accuracy of the location as reported by the hardware, if any. If this large, it is also shown by a blue circle on the map.
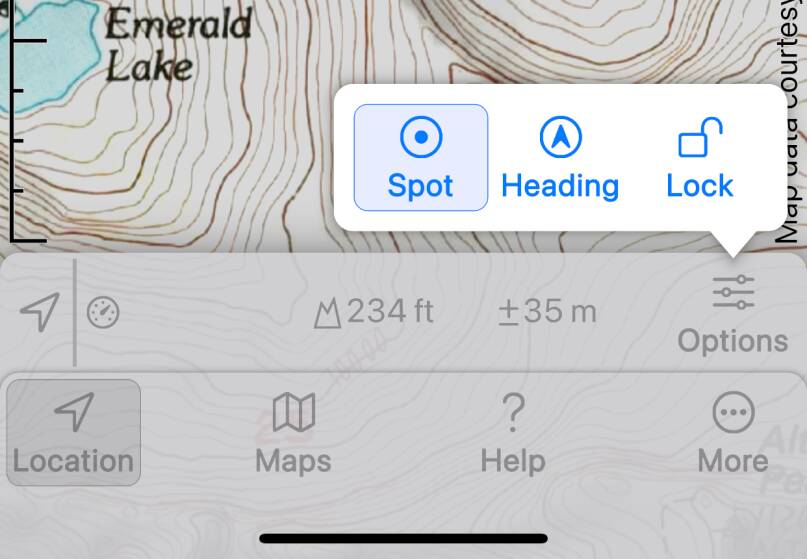
Tap
![]() to show the location options.
to show the location options.

Options
Spot
- Your location is shown on the map by a blue spot.
Heading
- Your location is shown on the map by a blue arrow, whose direction indicates the direction in which you are facing.
Lock
- Lock the map so your current location is kept at the center of the screen.
Show the app’s help screen.
Show more buttons.
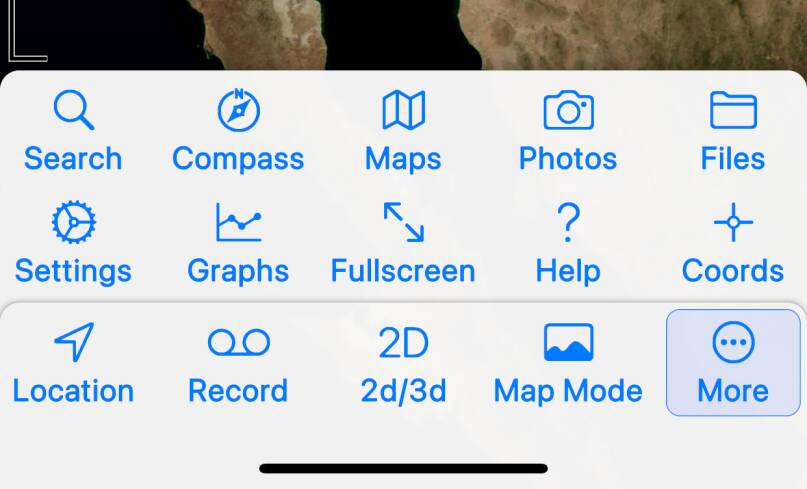
You can configure which buttons are always shown and which are revealed by
the More button in the settings screen. You may also have More buttons at
the top of the screen and in the selection popup, if you’ve put buttons there.
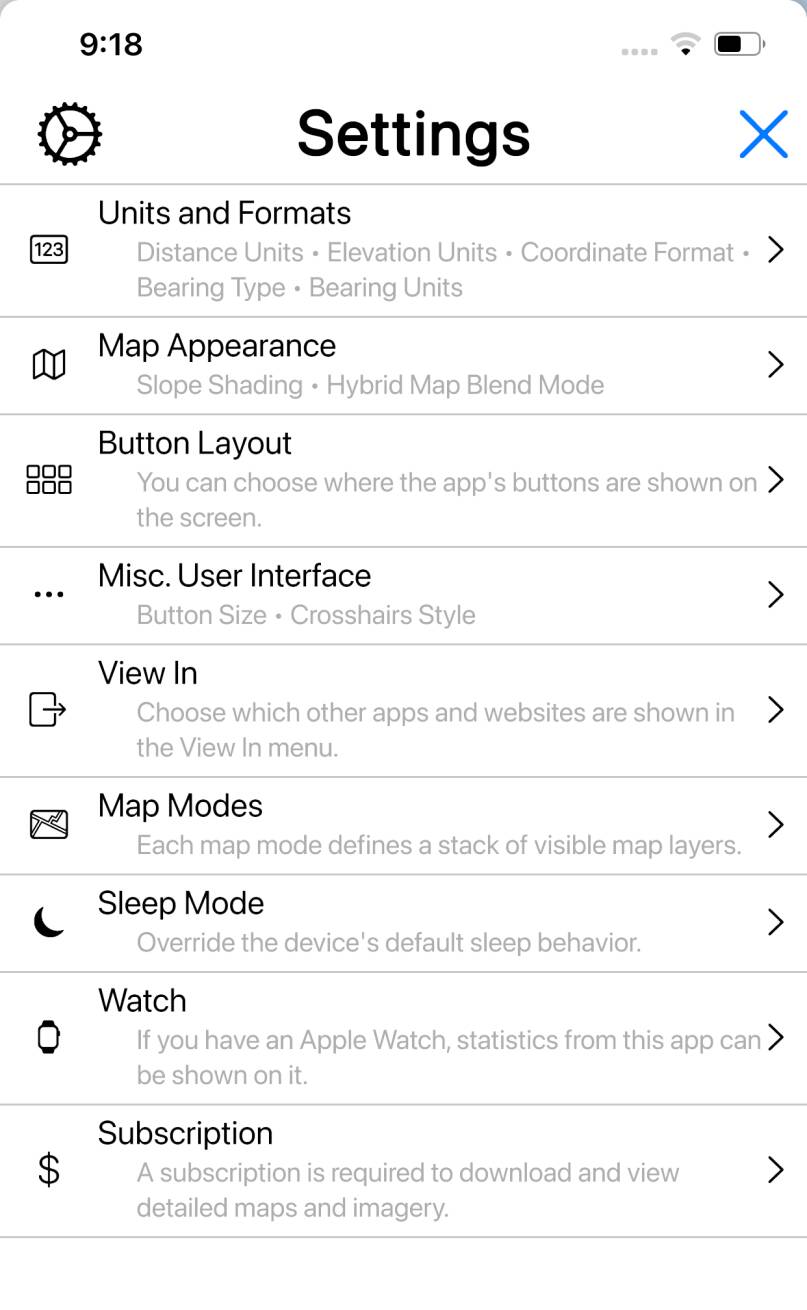
Show the Settings screen, where you can set measurement units,
coordinate formats, user-interface preferences and more.
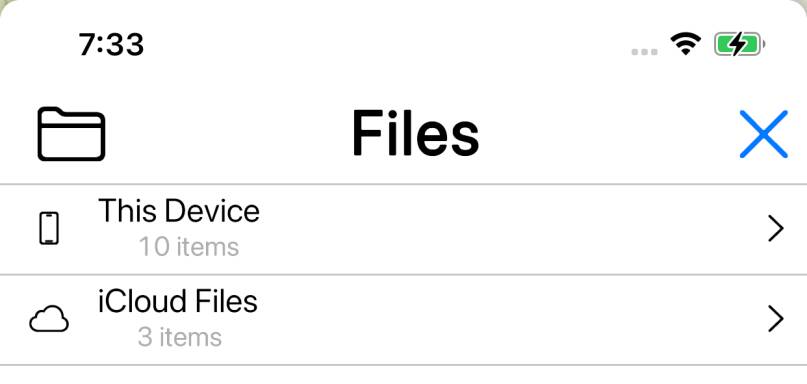
Waypoints, routes and recorded tracks are stored in GPX files; tap to
show the Files screen where you can manage these files.
Show the Maps screen, where you can download (and delete)
your detailed maps and imagery.
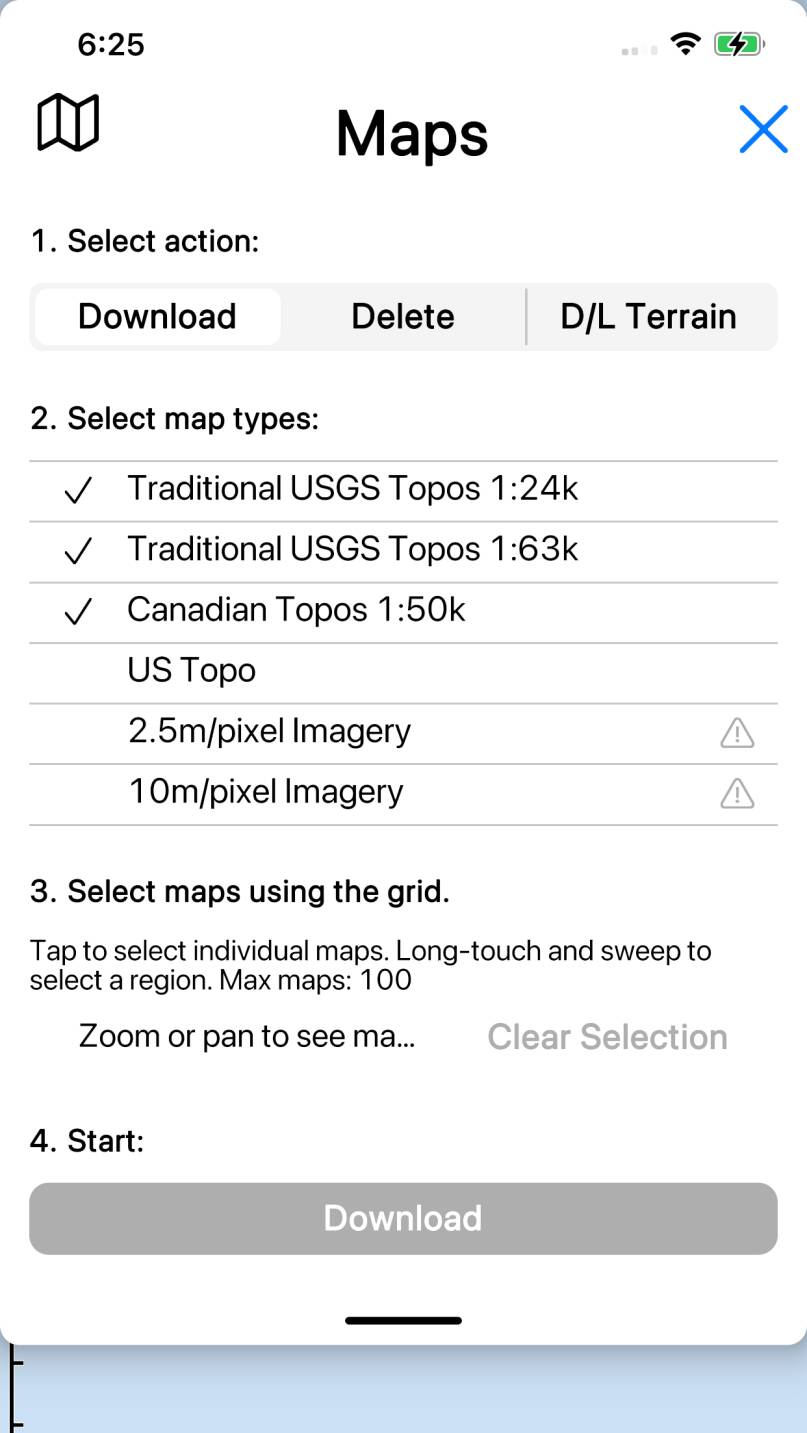
Read More about the different map types
and how to download them.
Show or hide the crosshairs at the center of the screen:
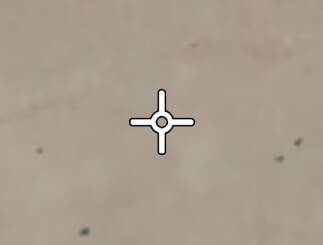
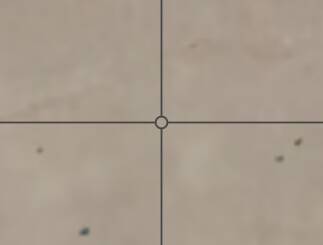
Two styles of crosshairs are available, the smaller symbol and
the large, thin, full screen crosshairs; select this in the Settings
screen.

The coordinates bar at the top of the screen shows the coordinates either
at the crosshairs, or if a location has been selected then at that
location. The symbol at the left of the coordinates bar indicates whether the
coordinates are for the crosshairs (![]() ) or for a
selected location (
) or for a
selected location (![]() ).
).
 ) or for a
selected location (
 ).
).The format of the coordinates can be changed in the settings screen.
The estimated elevation at this point is also shown, if known. This is
available where terrain data has been downloaded, i.e. where detailed
maps have been installed. It is only an estimate of the elevation because
the data has values for points with a spacing of about 100 feet; the app
interpolates between these points. This means it is least accurate on
summits, and most accurate on flat ground.
If you long-touch on the coordinates you can copy them to the device
clipboard, from where you can paste them in other apps.
Show the compass:
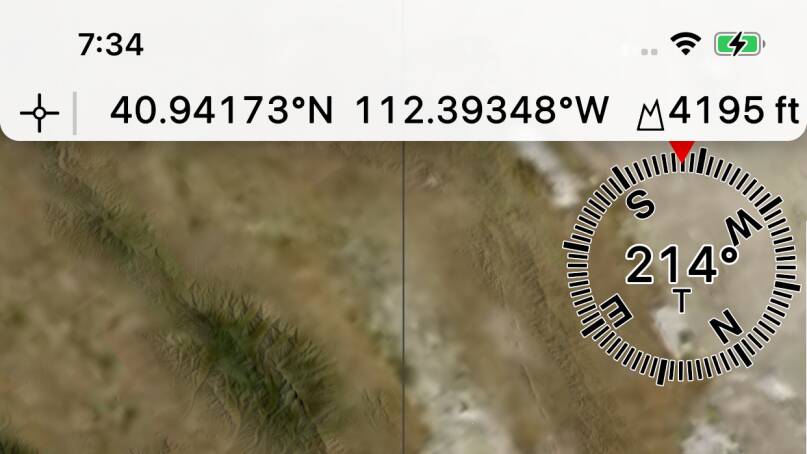
The map is rotated to align with the ground.
In the settings screen you can select whether the bearing shown in the
compass is true, magnetic or grid, and you can choose to use degrees
or mils.
In full screen mode, most buttons and other elements are hidden to make
more of the map visible. To restore them, tap on the
![]() button.
button.
 button.
The Map Mode button lets you switch between topographic maps, air / satellite
imagery, and a hybrid mode where they are overlaid.
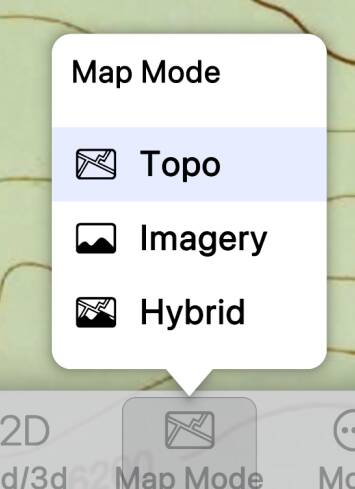
In the settings screen you can add additional map modes, or edit the
existing ones; for example, you can determine what is shown when both
US Topo and traditional maps are downloaded for the same location.
View the current area in another app, e.g. Apple Maps.
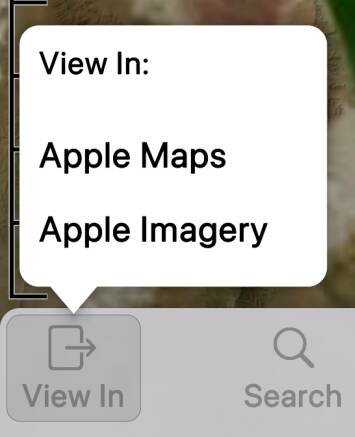
You can select which apps or websites are shown here in the settings
screen, and possibly add additional ones.
Select whether your photos are shown on the map. You can show
either all of your photos, or just those tagged as “favorites”.
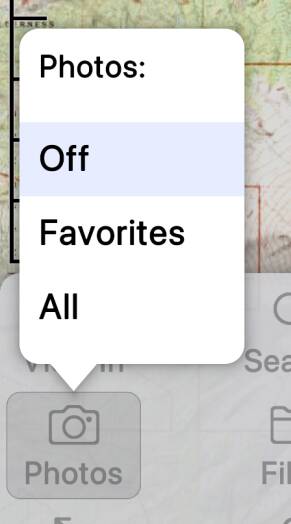
Photos are shown by ![]() symbols, colored yellow
for favorites.
symbols, colored yellow
for favorites.
 symbols, colored yellow
for favorites.
symbols, colored yellow
for favorites.When you tap on a photo symbol on the map, a small image is shown.
Tap on the image to view it full-screen.
If available, the direction and field-of-view of the photo are shown
on the map when it is selected.
Show the Graphs Screen.
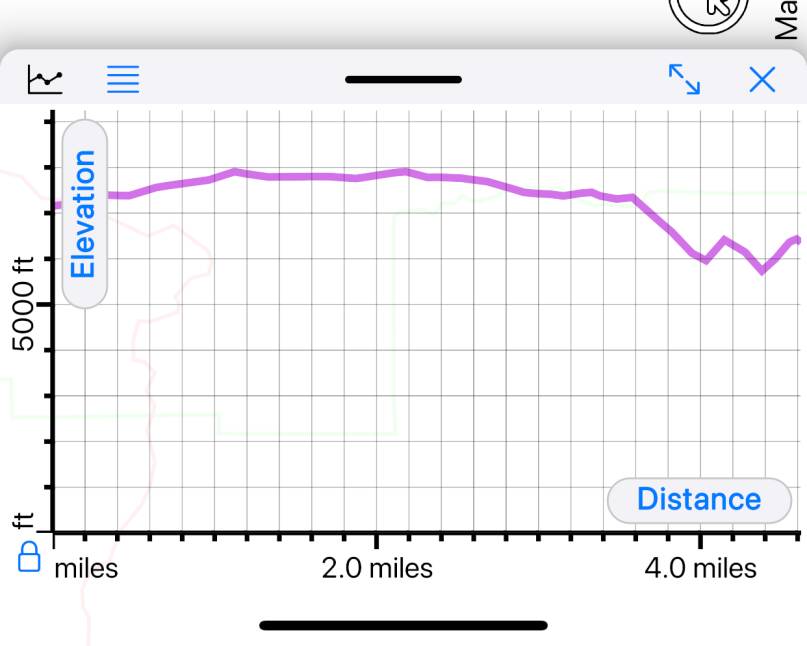
The graphs screen can show graphs of elevation or speed vs. time or distance
for your recorded tracks or planned routes (provided that data is available).
Note that there are two graph buttons. One is labeled “Graphs” and is by
default in the “more” button bar at the bottom of the screen; it simply opens
the graph screen. The other is labeled “Graph” (singular) and is by default
in the selection popup; it is only shown when a track or route is selected, and
adds that track or route to the graph screen.
Mark a waypoint.
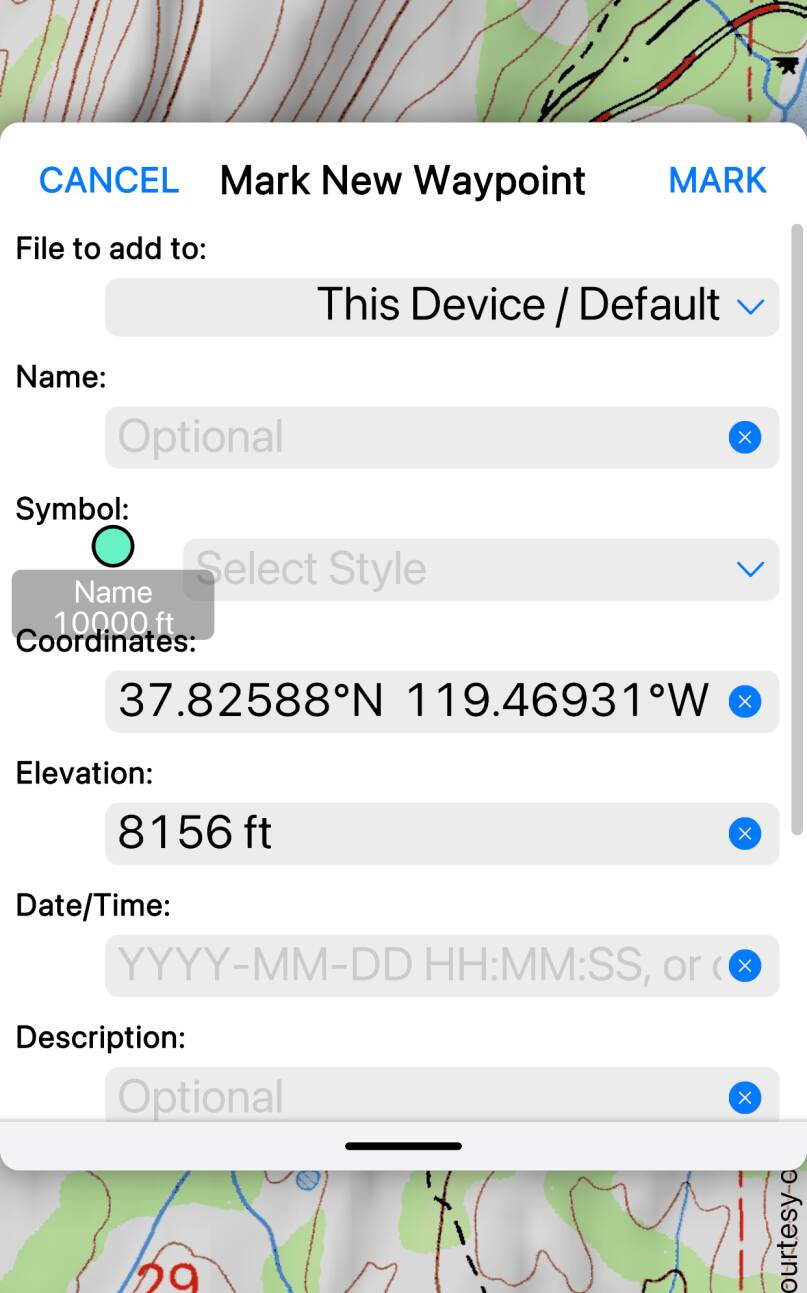
A form is presented where you must first select the file to which the waypoint will
be added - Read More about GPX Files. You can then give the
waypoint a name, choose a symbol, and set other attributes.

When you tap in the name field, the app will try to make suggestions based on nearby
features from the app’s search data, and names you’ve used recently. The suggestions will
update as you type.

When you tap in the Symbol field, the app will present a list of styles. These include
sizes, colors and shapes / symbols, from which you can make a selection.
Read More about Styles.
The remaining fields include the coordinates and elevation, which you probably don’t
want to change, Date/Time which you can set to “now” or “today” or enter something else,
a description, comment and source, and a number. Note that the number, if given, will
be shown inside the waypoint symbol.
If you find it difficult to position the waypoint precisely by tapping
on the map, make sure the crosshairs are turned on and place the
![]() at the right spot; your tap will snap to the
middle of the symbol.
at the right spot; your tap will snap to the
middle of the symbol.
 at the right spot; your tap will snap to the
middle of the symbol.
at the right spot; your tap will snap to the
middle of the symbol.Draw a route starting at the selected point.
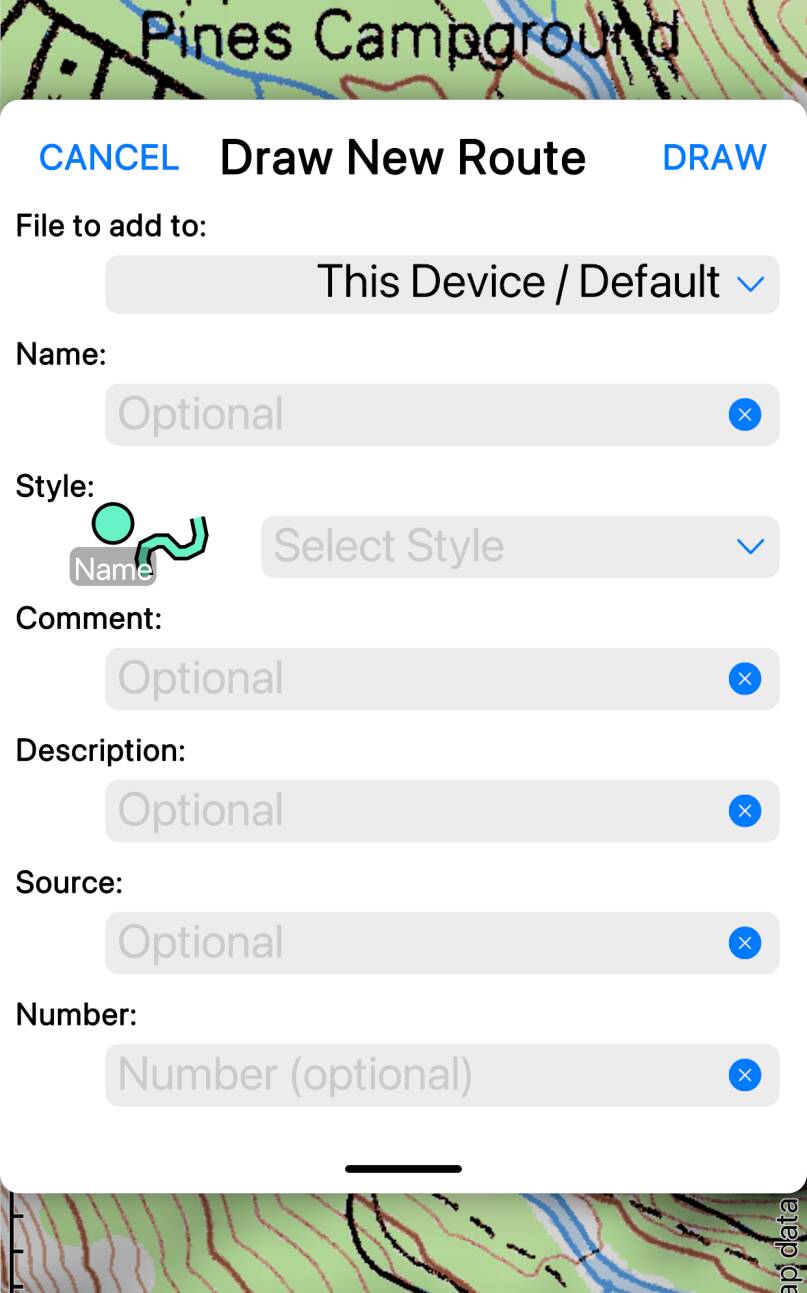
A form is presented where you must first select the file to which the route will
be added - Read More about GPX Files. You can then give the
route a name, choose a style, and set other attributes.
When you tap in the name field, the app will try to make suggestions based on nearby
features from the app’s search data, and names you’ve used recently. The suggestions will
update as you type. So for example if you want to name your route “Half Dome from Happy
Isles”, you should be able to type “H” and then select “Half Dome” from the suggestions,
then type “ from H”, and then select “Happy Isles”.
When you tap in the Style field, the app will present a list of styles. These include
sizes, colors and shapes / symbols, from which you can make a selection.
Read More about Styles.
Tap to close the form and start drawing. A pencil symbol
is now shown on the map which you can drag to draw your route.
DRAW
At the bottom of the screen the Draw Bar is shown:
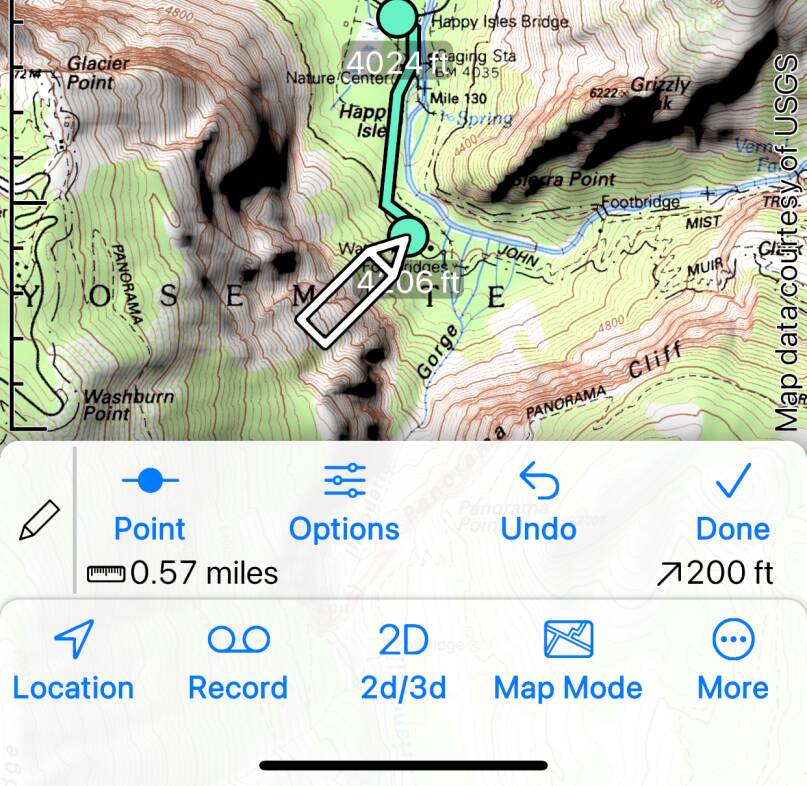
Point
- Tap to add a point with a name or symbol. Most of the route’s points are anonymous, but you can use this button to show a form where you can set a name, symbol or other attributes for this point. Use this to mark points of interest along your route.
Undo
- Tap to undo recent drawing.
Done
- Tap when you’ve finished drawing.
Tap the Options button to set these options for drawing:
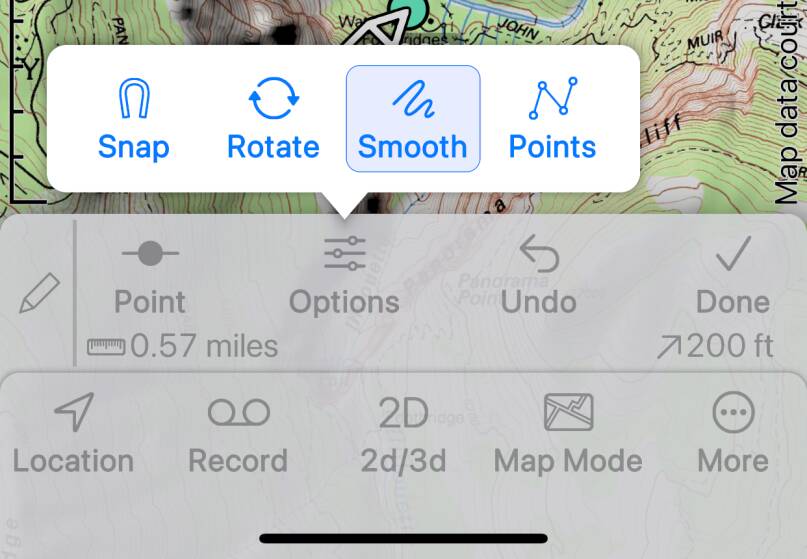
Snap
- Turn on to snap to existing waypoints, other tracks or routes, and search markers.
Rotate
- This button simply rotates the pencil symbol; use it so that you can see what you’re drawing, rather than it being hidden under your finger.
Smooth
- Sets Smooth Mode; the route will be made up of many points close together forming a smooth curve.
Points
- Sets Points Mode; a new point is only added when you tap on the pencil, resulting in straight line segments.
The Draw Bar also shows:
- The length of the route so far.
- Estimated total climb along the route so far, based on the app’s terrain data.
Show concentric distance rings, and measure the distance and bearing between
two points.
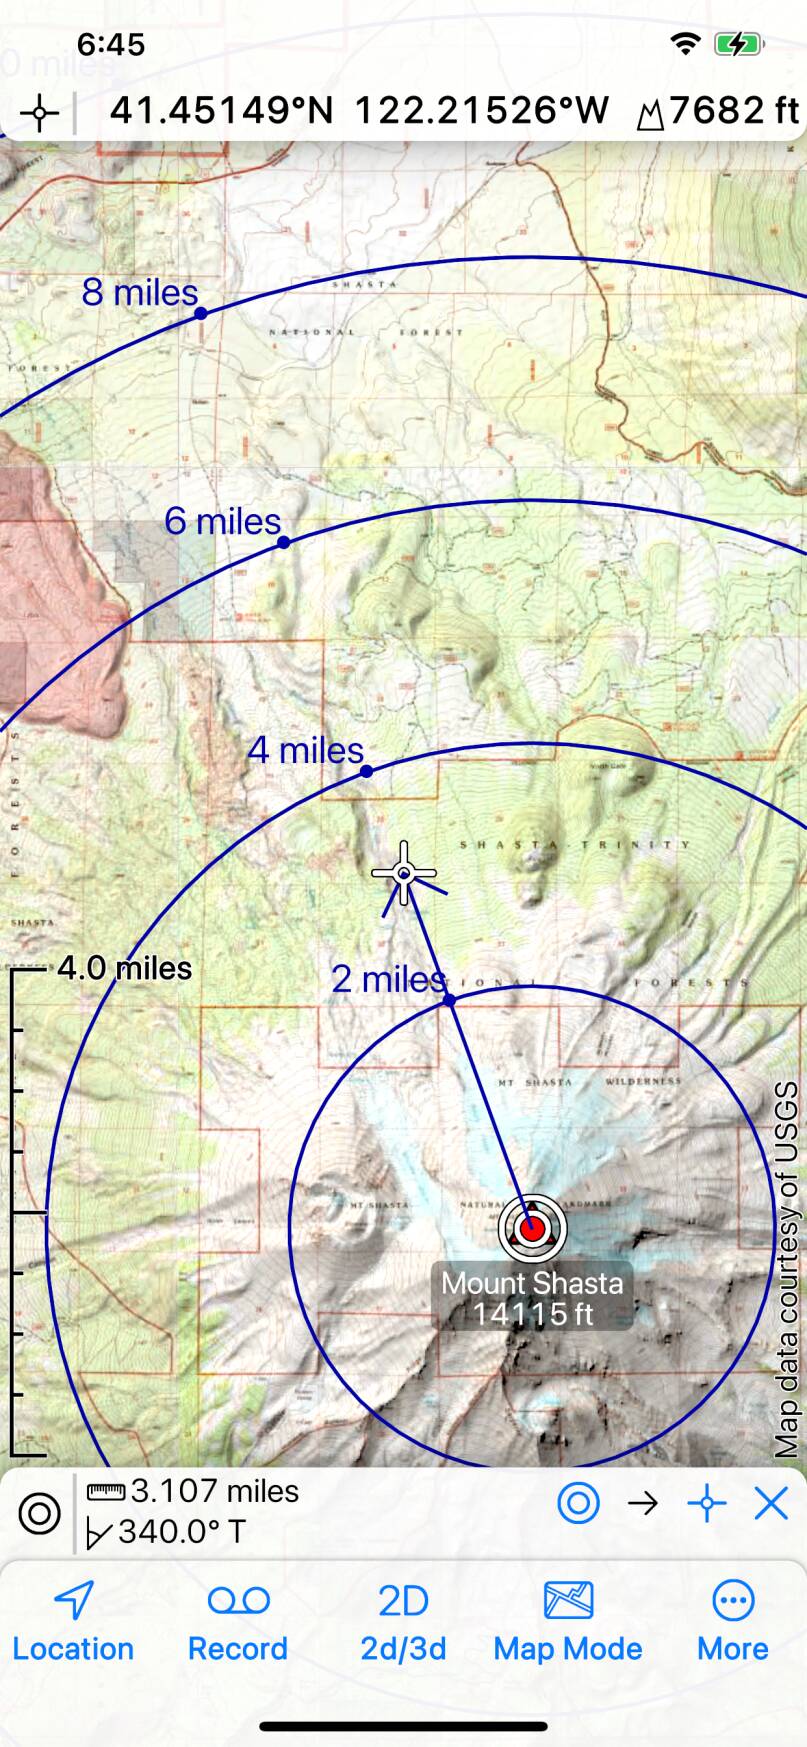
Distance rings are only shown in 2D mode.
At the bottom of the screen, the measure bar shows the distance and bearing
between two points. You can change which two points are used using the pair of
menus at the right end of the measure bar.

Using these options you can determine distance and bearing between a pair of
points on the map by selecting one, tapping
![]() ,
and moving the crosshairs to the other. Or, you can monitor your distance to an
objective by selecting that point, tapping the measure button, and then selecting
“Current Location” as the starting point and “Rings” as the end point for the
measurement.
,
and moving the crosshairs to the other. Or, you can monitor your distance to an
objective by selecting that point, tapping the measure button, and then selecting
“Current Location” as the starting point and “Rings” as the end point for the
measurement.

Measure
This button is enabled when a waypoint is selected. Tap to move the waypoint. A
![]() symbol is shown which you can drag.
symbol is shown which you can drag.
 symbol is shown which you can drag.
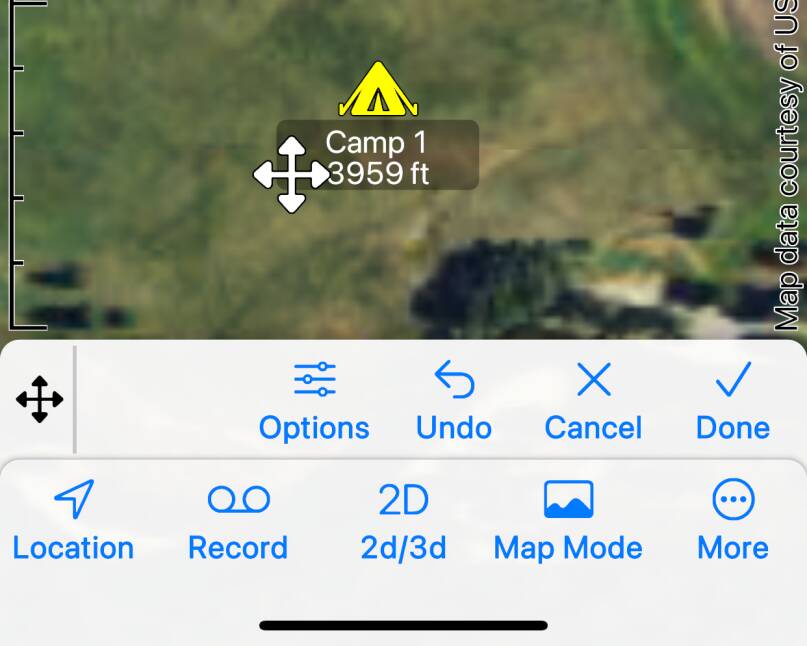
At the bottom of the screen, the Move Bar is shown. Its buttons are:
Undo
- Undo the move step-by-step.
Cancel
- Cancel the move, reverting to the point’s original position.
Done
- Finish moving the point.
The
![]() button shows the following
settings:
button shows the following
settings:

Options
Snap
- Turn on to snap to existing waypoints, routes and tracks, and search markers.
Rotate
- This button simply rotates the move control around the point being moved; use it so that you can see what you’re moving, rather than it being hidden under your finger.
This button is enabled when a waypoint, track or route is selected. Tap to
present a form where you can edit the item’s metadata, i.e. its name, symbol etc.
This button is enabled when a waypoint, track or route is selected. Tap to
open the Files screen showing the item.
This button is shown when a photo is selected. Tap to toggle the photo’s
“favorite” status.
This button is enabled when a track or route is selected. Tap to “fly”
along the track or route.
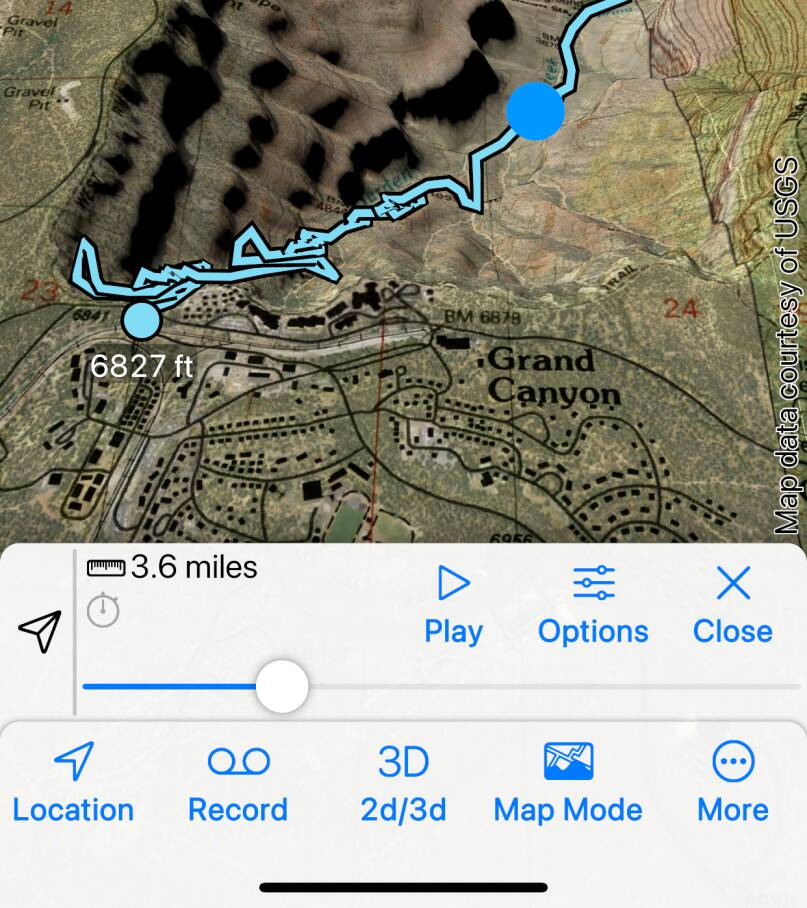
The Fly Bar is shown at the bottom of the screen, and a blue spot is shown
on the track or route to indicate the current position.
In the Fly Bar, you can drag the slider to move the current position along the
track or route. The other controls in the Fly Bar are:
Play
- Tap to start flying.
Pause
- Tap to pause flying.
Close
- Tap to finish and close the Fly bar.
- The distance along the track or route at the current point.
- The elapsed time at the current point, if any.
The
![]() button shows these settings:
button shows these settings:

Options

- A slider to adjust the speed of the flight.
- A pair of controls to determine whether the blue spot and the track or route itself are actually shown during the flight.
This button is enabled when a route or track is selected. Tap to add this route or
track to the graph panel.
This button is shown when a waypoint, track or route
is selected. Tap to copy to the clipboard.
This button is shown when a waypoint, track, route or photo
is selected. Tap to delete the item. There is no confirmation dialog, but deleted
waypoints, tracks and routes can be restored for a short time only from
the Recently Deleted section of the Files screen.
Record a track.
Typically you would turn on the
![]() button
before starting to record a track, but this is not essential.
button
before starting to record a track, but this is not essential.

Location
A form is presented where you must first select the file to which the track will
be added - Read More about GPX Files. You can then give the
track a name, choose a style, and set other attributes.
When you tap in the name field, the app will try to make suggestions based on nearby
features from the app’s search data, and names you’ve used recently. The suggestions will
update as you type. So for example if you want to name your track “Half Dome from Happy
Isles”, you should be able to type “H” and then select “Half Dome” from the suggestions,
then type “ from H”, and then select “Happy Isles”.
When you tap in the Style field, the app will present a list of styles. These include
sizes, colors and shapes / symbols, from which you can make a selection.
Read More about Styles.
Tap to close the form and start recording.
START
At the bottom of the screen the Record Bar is shown:
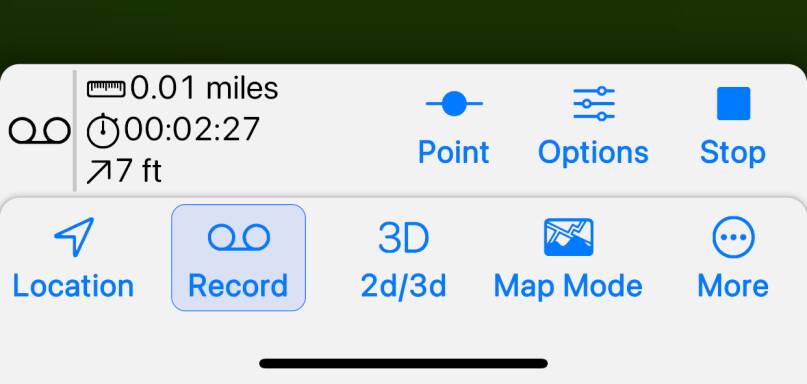
Point
- Tap to add a point with a name or symbol. Most of the track’s points are anonymous, but you can use this button to show a form where you can set a name, symbol or other attributes for this point. Use this to mark points of interest along your track.
Stop
- Tap when you want to finish recording.
Tap the Options button to set filtering options:

The Record Bar also shows:
- The length of the track so far.
- The duration of the recording so far.
- Total climb along the track so far.
This button is shown when a track or route is shown. It presents a menu of
actions that can be applied to modify the track or route.
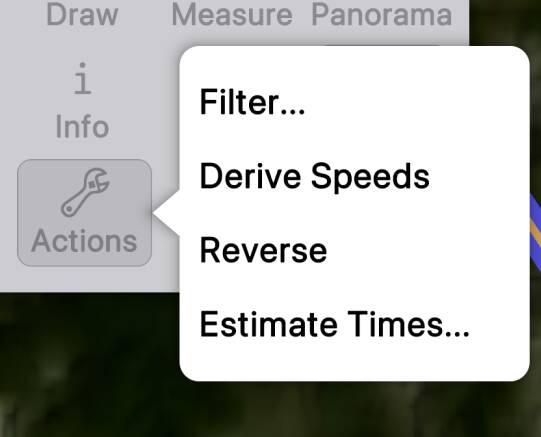
The available actions are:
- Filter...
- Remove points from the track or route based on various criteria; Read More about Filtering.
- Derive Speeds
- Calculate speeds at each point of the track or route based on the position and timestamp data, replacing any existing speed information.
- Reverse
- Reverse the order of the points.
- Estimate Times...
- Presents a form where you can enter your average speed and other information, from which estimated times along the track or route will be calculated, replacing any existing time information. Read More about Estimate Times.


